-
Instagram 클론 -1) springboot시작하고 user모델 만들기Spring 2021. 6. 11. 19:07
참고한 강의
인스타그램클론의 frontend 부분은 강의를 보고 만들어 놓았는데,
리액트 부분은 다른 강의에서도 만힝 보고 따라배우는 것을 했기 때문에,
정리하는 것은 생략했다. 코드는 다음에서 확인 가능하다.
cracktechnicalinterview/insta-frontend
Contribute to cracktechnicalinterview/insta-frontend development by creating an account on GitHub.
github.com
먼저 start.spring.io에 가서 다음과 같이 설정하고 파일을 다운 받는다.

파일을 다운받고 압축을 풀면 생성된 폴더를 볼 수 있다.
이클립스에서 import -> exist maven 을 사용해서 파일을 연다.

데이터 스키마 모델 

생성할 API들 제일먼저 user model(schema)를 만들어 보자.
src>main>java에 새로운 package를 만들어준다. (Entity)
그 안에 Users.java 클래스를 만들어준다.

안에 user schema를 작성해준다.
여기서 id는 자동으로 생성되도록 설정하고 id가 되도록 설정했다.
추가로 나머지 항목은 값이 null이 되지 않도록 설정했다.
source-> constructor (super)와
source-> constructor(field)와
getter, setter를 생성해줬다.
package Entity;

import javax.persistence.Entity;
import javax.persistence.GeneratedValue;
import javax.persistence.Id;

import com.sun.istack.NotNull;

@Entity(name = "Users")
public class Users {

	@Id
	@GeneratedValue
	private int id;

	@NotNull
	private String userId;
	private String userName;
	private String name;
	private String profileImage;

	public Users() {
		super();
		// TODO Auto-generated constructor stub
	}

	public Users(int id, String userId, String userName, String name, String profileImage) {
		super();
		this.id = id;
		this.userId = userId;
		this.userName = userName;
		this.name = name;
		this.profileImage = profileImage;
	}

	public int getId() {
		return id;
	}

	public void setId(int id) {
		this.id = id;
	}

	public String getUserId() {
		return userId;
	}

	public void setUserId(String userId) {
		this.userId = userId;
	}

	public String getUserName() {
		return userName;
	}

	public void setUserName(String userName) {
		this.userName = userName;
	}

	public String getName() {
		return name;
	}

	public void setName(String name) {
		this.name = name;
	}

	public String getProfileImage() {
		return profileImage;
	}

	public void setProfileImage(String profileImage) {
		this.profileImage = profileImage;
	}


}
이제 API를 작동하도록 하기 위해서는 controller-> service->repository가 필요하다.
먼저 controller를 셋팅하자.
src>main>java에서 Conroller패키지를 생성하고 그 안에 usercontroller를 생성한다.

컨트롤러로 지정해주고 users와 매핑되도록 설정해준다.
package Controller;

import org.springframework.web.bind.annotation.RequestMapping;
import org.springframework.web.bind.annotation.RestController;

@RestController
@RequestMapping("/users")
public class UserController {

}
먼저 post와 get mapping을 해보자.
postmapping은 다음과 같이 api에 따로 전해줄 아이디가 없지만 Requestbody로 생성할 유저에 대한 정보를 받아야 한다.
getmapping은 다음과 같이 api에서 아이디를 전해주어야 정보를 가져올 수 있으므로 @pathvariable을 이용해서 아이디를 사용한다.
package Controller;

import org.springframework.web.bind.annotation.GetMapping;
import org.springframework.web.bind.annotation.PathVariable;
import org.springframework.web.bind.annotation.PostMapping;
import org.springframework.web.bind.annotation.RequestBody;
import org.springframework.web.bind.annotation.RequestMapping;
import org.springframework.web.bind.annotation.RestController;

import Entity.Users;

@RestController
@RequestMapping("/users")
public class UserController {

	@PostMapping("")
	private boolean submitUser(@RequestBody Users users) {
		return true;
	}

	@GetMapping("/{userId}")
	private Users getuserDetails(@PathVariable("userId") String userId) {
		return new Users();
	}
}
그다음 db를 연결해보자.
src>main>resources>application.properties에가서 데이터베이스를 설정해준다.
먼저 mysql을 설치해주고,
cd /usr/local/mysql/bin
./mysql -uroot -p 에서
create database instaclonedb;를 해준다.
properties에 다음과 같이 입력해준다.
spring.jpa.hibernate.ddl-auto=update
spring.datasource.url=jdbc:mysql://localhost:3306/instagramclonedb?sessionVariables=sql_mode='NO_ENGINE_SUBSTITUTION'&jdbcCompliantTruncation=false
spring.datasource.username=root
spring.datasource.password=password
다음으로 Controller와 Entity파일명을 다음과 같이 바꿔서 java안의 com폴더안으로 Controller와 Entity를 옮겨준다.

앱을 실행하면 정상적으로 작동하는 것을 볼 수 있다.
이제 포스트맨을 이용해서 작동을 확인하자.
post를 먼저 확인할 것이다.
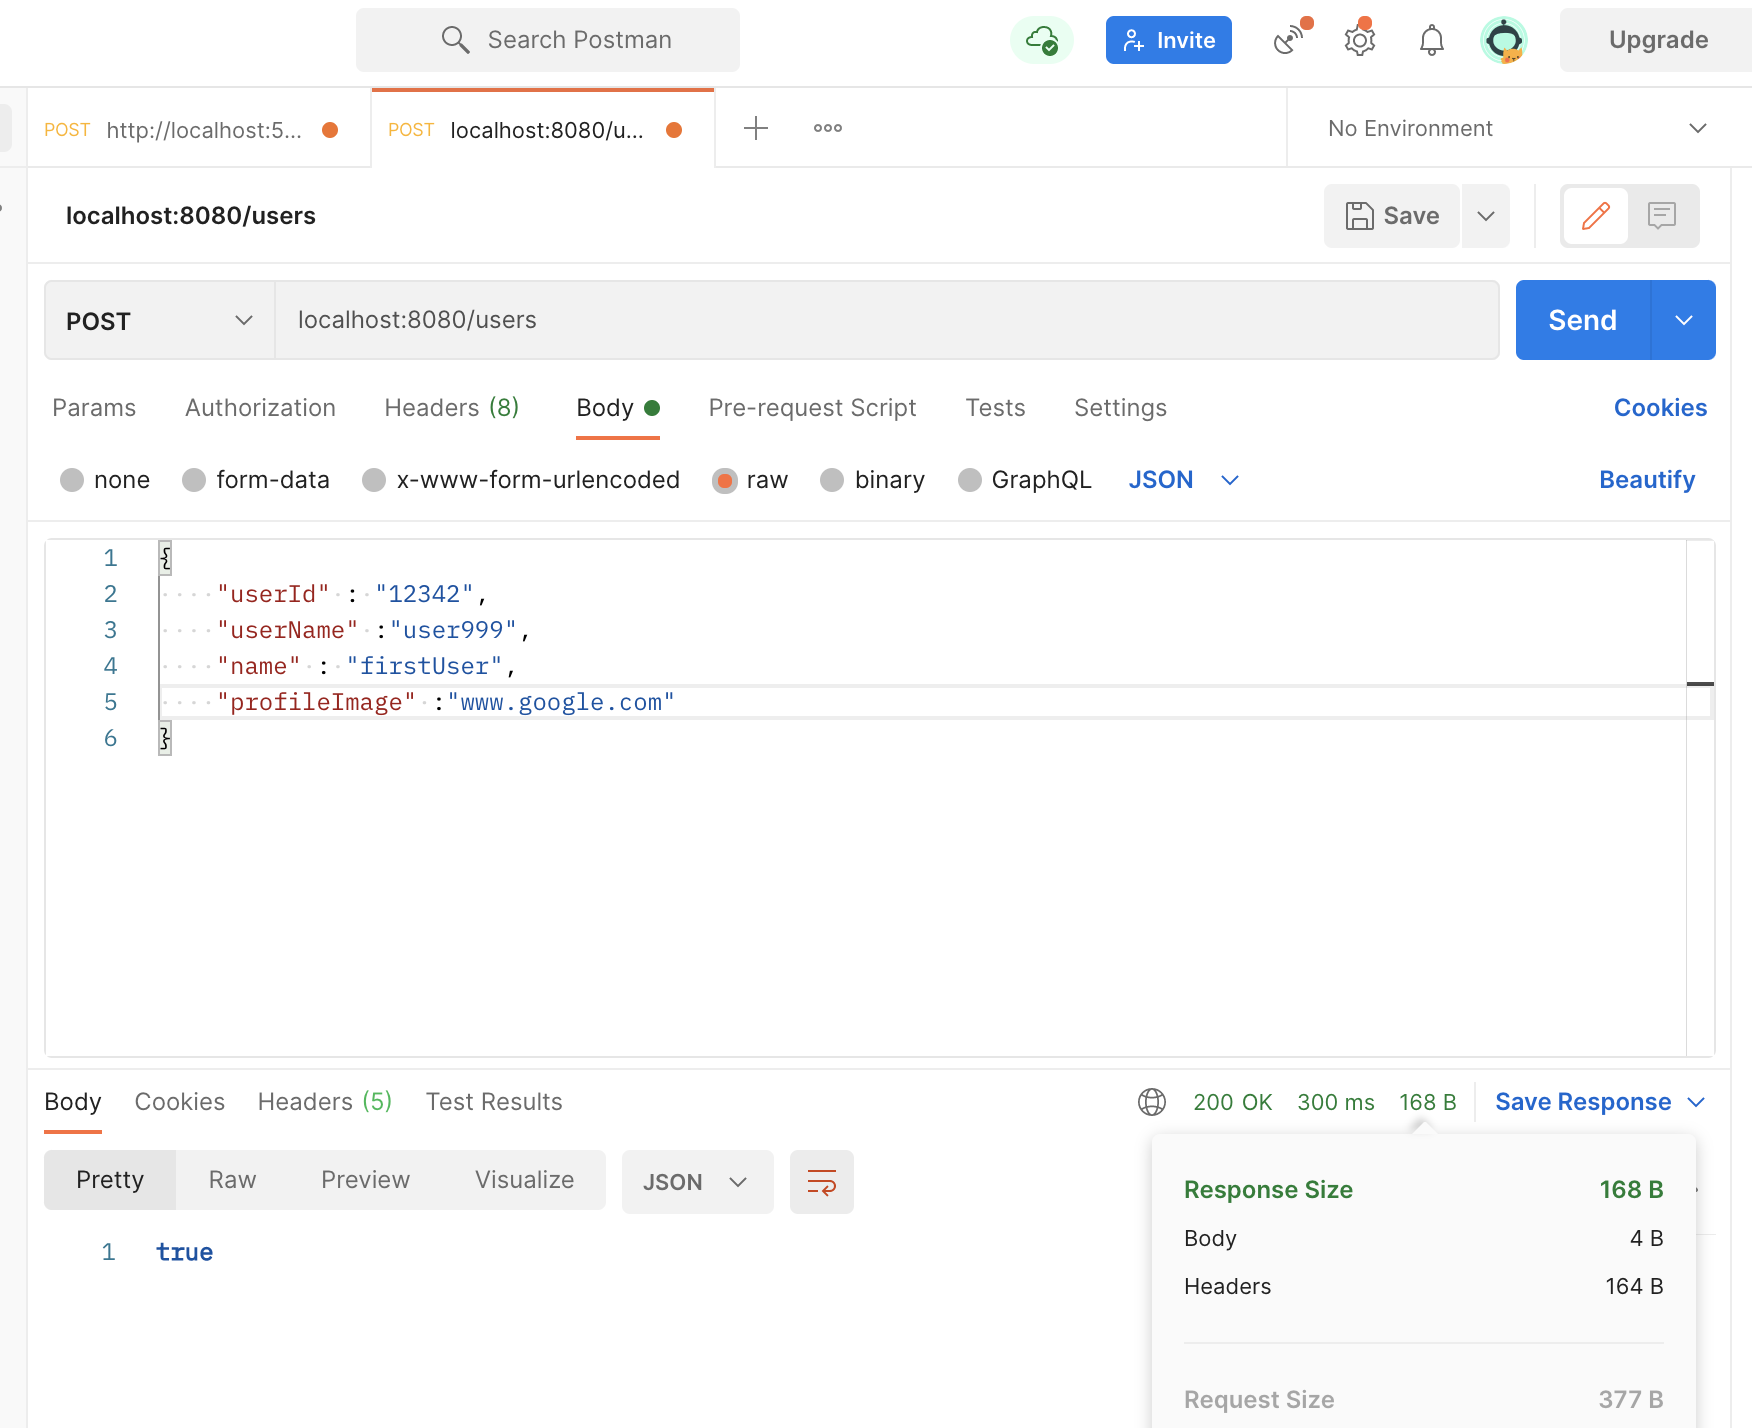
잘 작동한다.
이제 service를 작성해보자.
com.yunhalee.Instagram_App.Service 패키지를 만들고 UserService자바 클래스 파일도 만들어준다.
package com.yunhalee.Instagram_App.Service;

import org.springframework.stereotype.Service;

import com.yunhalee.Instagram_App.Entity.Users;

@Service
public class UserService {

	public Users submitMetaDataOfUser(Users user) {
		return new Users();
	}

	public Users displayUserMetaData(String userId) {
		return new Users();
	}
}
이제 컨트롤러와 서비스를 연결해준다.
package com.yunhalee.Instagram_App.Controller;

import org.springframework.beans.factory.annotation.Autowired;
import org.springframework.web.bind.annotation.GetMapping;
import org.springframework.web.bind.annotation.PathVariable;
import org.springframework.web.bind.annotation.PostMapping;
import org.springframework.web.bind.annotation.RequestBody;
import org.springframework.web.bind.annotation.RequestMapping;
import org.springframework.web.bind.annotation.RestController;

import com.yunhalee.Instagram_App.Entity.Users;
import com.yunhalee.Instagram_App.Service.UserService;

@RestController
@RequestMapping("/users")
public class UserController {

	@Autowired
	UserService userService;

	@PostMapping("")
	private boolean submitUser(@RequestBody Users users) {
		userService.submitMetaDataOfUser(users);
		return true;
	}

	@GetMapping("/{userId}")
	private Users getuserDetails(@PathVariable("userId") String userId) {
		userService.displayUserMetaData(userId);
		return new Users();
	}
}
이제 레파지토리와 연결하자.
com.yunhalee.Instagram_App.Repository패키지를 만들고, UserRepository자바 인터페이스를 만든다.
package com.yunhalee.Instagram_App.Repository;

import org.springframework.data.repository.CrudRepository;
import org.springframework.stereotype.Repository;

import com.yunhalee.Instagram_App.Entity.Users;

@Repository
public interface UserRepository extends CrudRepository<Users,Integer>{

	Users save(Users user);
	Users findByUserId(String userId);
}
이제 서비스에서도 레파지토리와 연결해주자.
package com.yunhalee.Instagram_App.Service;

import org.springframework.beans.factory.annotation.Autowired;
import org.springframework.stereotype.Service;

import com.yunhalee.Instagram_App.Entity.Users;
import com.yunhalee.Instagram_App.Repository.UserRepository;

@Service
public class UserService {

	@Autowired
	UserRepository userRepo;

	public Users submitMetaDataOfUser(Users user) {
		return userRepo.save(user);
	}

	public Users displayUserMetaData(String userId) {
		return userRepo.findByUserId(userId);
	}
}
포스트맨으로 정보를 가져와보면 null로 나오는 것을 확인할 수 있는데,

그 이유는 controller에 가보면,
empty user를 리턴하고 있기 때문이다. 이를 수정하자.
추가로 사용자를 등록할 때도 등록된 사용자를 리턴하도록 바꾸자.
package com.yunhalee.Instagram_App.Controller;

import org.springframework.beans.factory.annotation.Autowired;
import org.springframework.web.bind.annotation.GetMapping;
import org.springframework.web.bind.annotation.PathVariable;
import org.springframework.web.bind.annotation.PostMapping;
import org.springframework.web.bind.annotation.RequestBody;
import org.springframework.web.bind.annotation.RequestMapping;
import org.springframework.web.bind.annotation.RestController;

import com.yunhalee.Instagram_App.Entity.Users;
import com.yunhalee.Instagram_App.Service.UserService;

@RestController
@RequestMapping("/users")
public class UserController {

	@Autowired
	UserService userService;

	@PostMapping("")
	private Users submitUser(@RequestBody Users users) {
		return userService.submitMetaDataOfUser(users);

	}

	@GetMapping("/{userId}")
	private Users getuserDetails(@PathVariable("userId") String userId) {
		return userService.displayUserMetaData(userId);

	}
}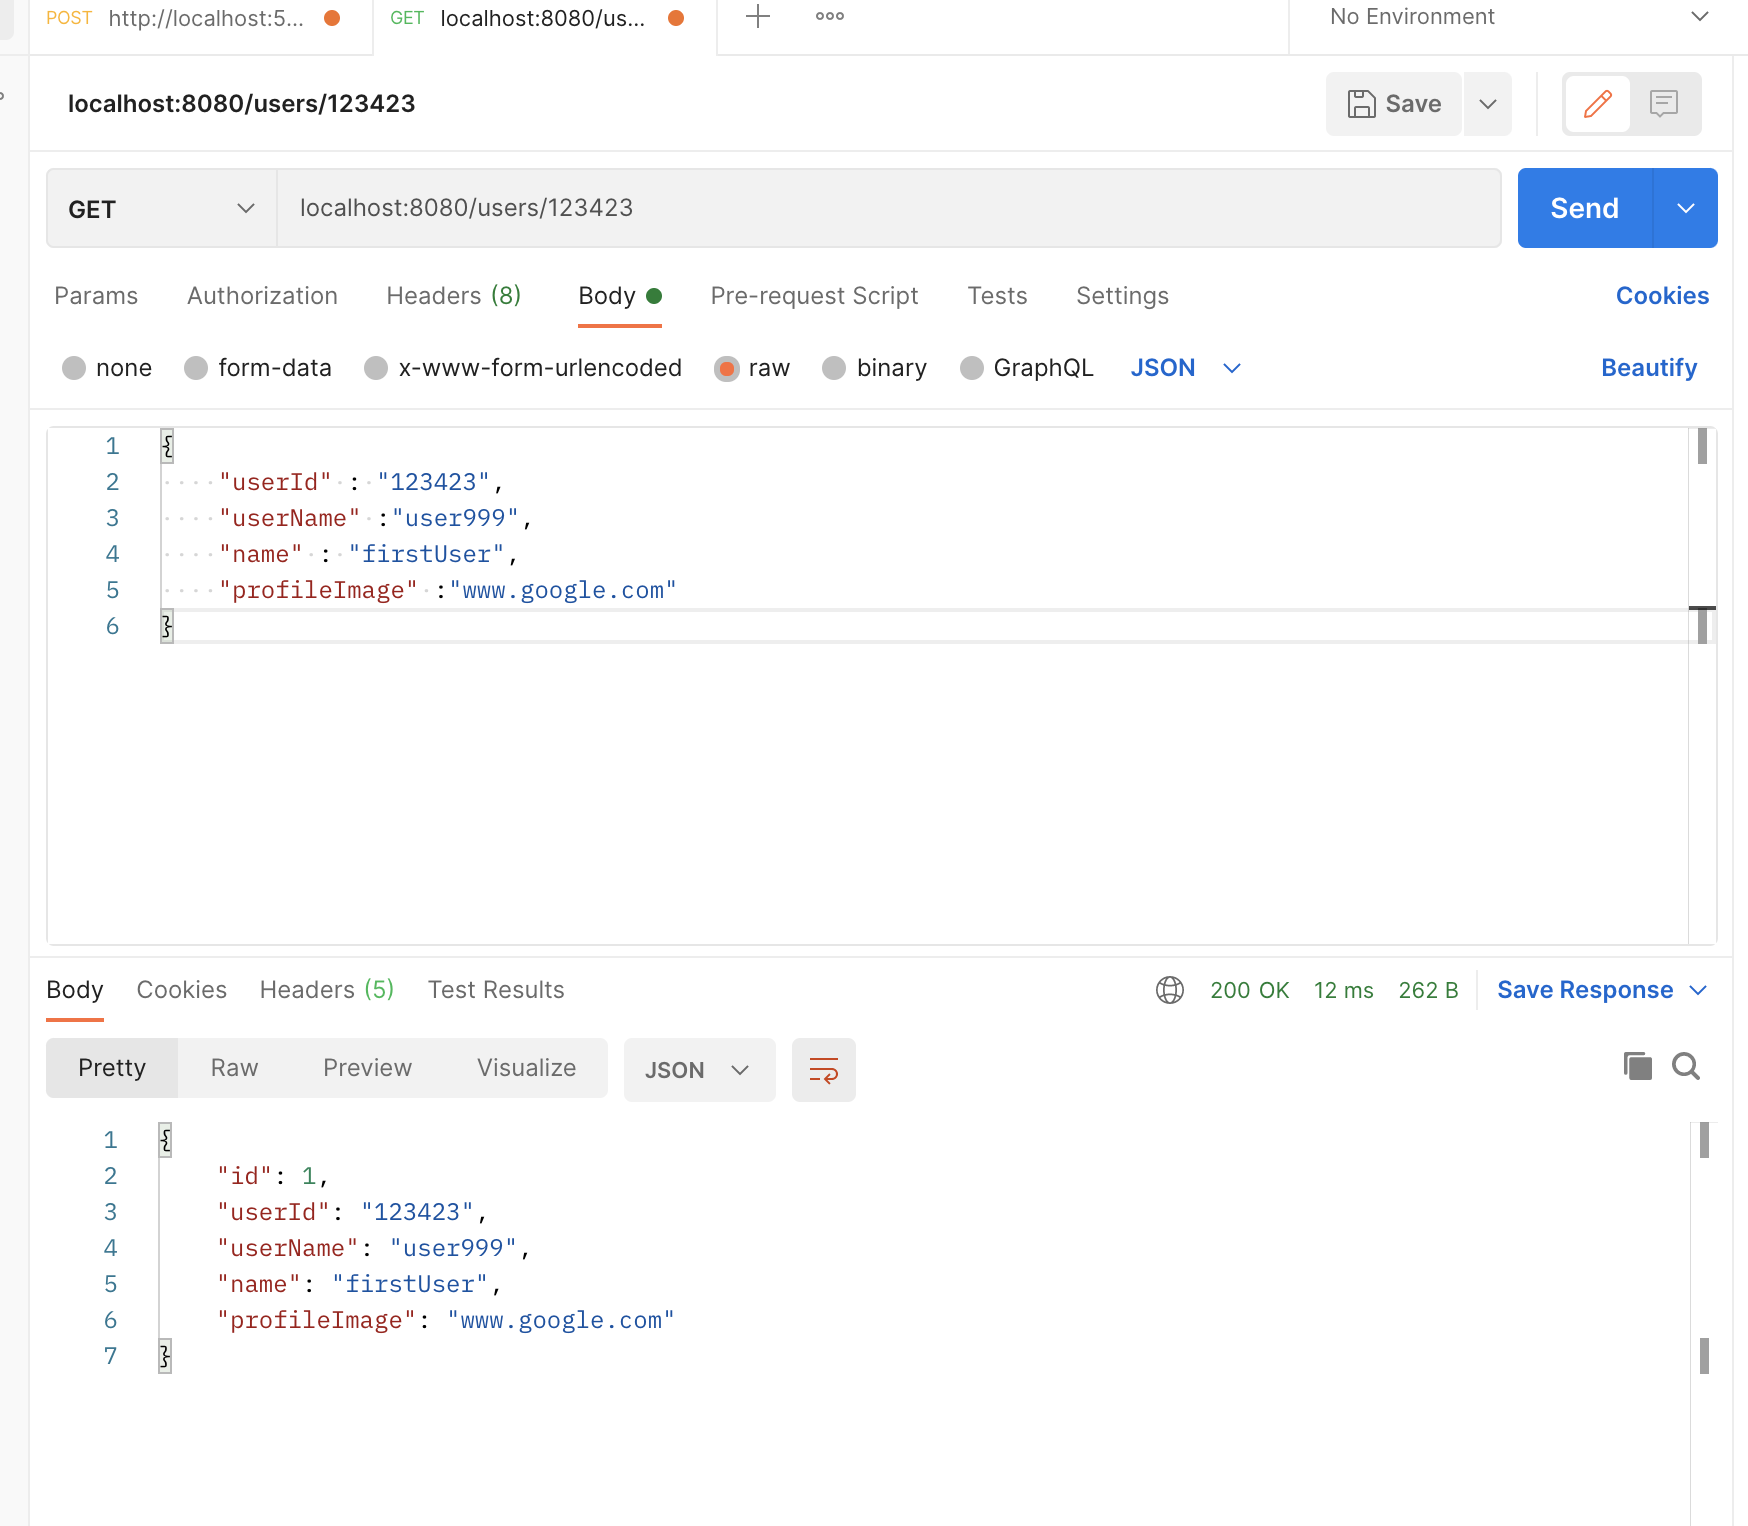
다시 잘 가지고 오는것을 확인할 수 있다.
터미널에서도 다음과 같이 확인할 수 있다.

'Spring' 카테고리의 다른 글
JSP : Standard JSP Tag Library (JSTL) - Core Tags (0) 2021.06.18 JSP : 사용자 action을 session, cookie에 따라서 추적하기 (To Do, 쿠키 사이트) (0) 2021.06.18 JSP의 기본 사용 방법 (0) 2021.06.18 Instagram 클론 -3) backend와 frontend 합치기 (0) 2021.06.12 Instagram 클론 -2) status, post, comment모델 만들기 (0) 2021.06.12