-
OnlineShop 만들기 - 11) Cart Page 만들기 2 (cart 페이지 템플릿 만들기)NODE.JS 2021. 5. 16. 16:54
카트 페이지 템플릿을 만들고 db에서 가져온 데이터를 화면에 보여주도록 하자.

순서 cartpage에 템플릿을 추가하자.
여기서 테이터를 보여주는 userCardBlock을 따로 만들것이다.
import UserCardBlock from './Sections/UserCartBlock';
import { Result, Empty } from 'antd';

    return (
        <div style={{ width: '85%', margin: '3rem auto' }}>
            <h1>My Cart</h1>
            <div>

                <UserCardBlock

                />


                    <div style={{ marginTop: '3rem' }}>
                        <h2>Total amount: ${Total} </h2>
                    </div>
                    //아이템이 있을때
                        <Result
                            status="success"
                            title="Successfully Purchased Items"
                        />
                        //아이템이 없을 때
                        <div style={{
                            width: '100%', display: 'flex', flexDirection: 'column',
                            justifyContent: 'center'
                        }}>
                            <br />
                            <Empty description={false} />
                            <p>No Items In the Cart</p>

                        </div>
                }
            </div>


            {/* Paypal Button */}


        </div>
    )
}
CartPage>Sections>UserCardBlock.js파일을 만들어준다.
import React from 'react'

function UserCardBlock(props) {


    return (
        <div>
            <table>
                <thead>
                    <tr>
                        <th>Product Image</th>
                        <th>Product Quantity</th>
                        <th>Product Price</th>
                        <th>Remove from Cart</th>
                    </tr>
                </thead>
                <tbody>
                </tbody>
            </table>
        </div>
    )
}

export default UserCardBlock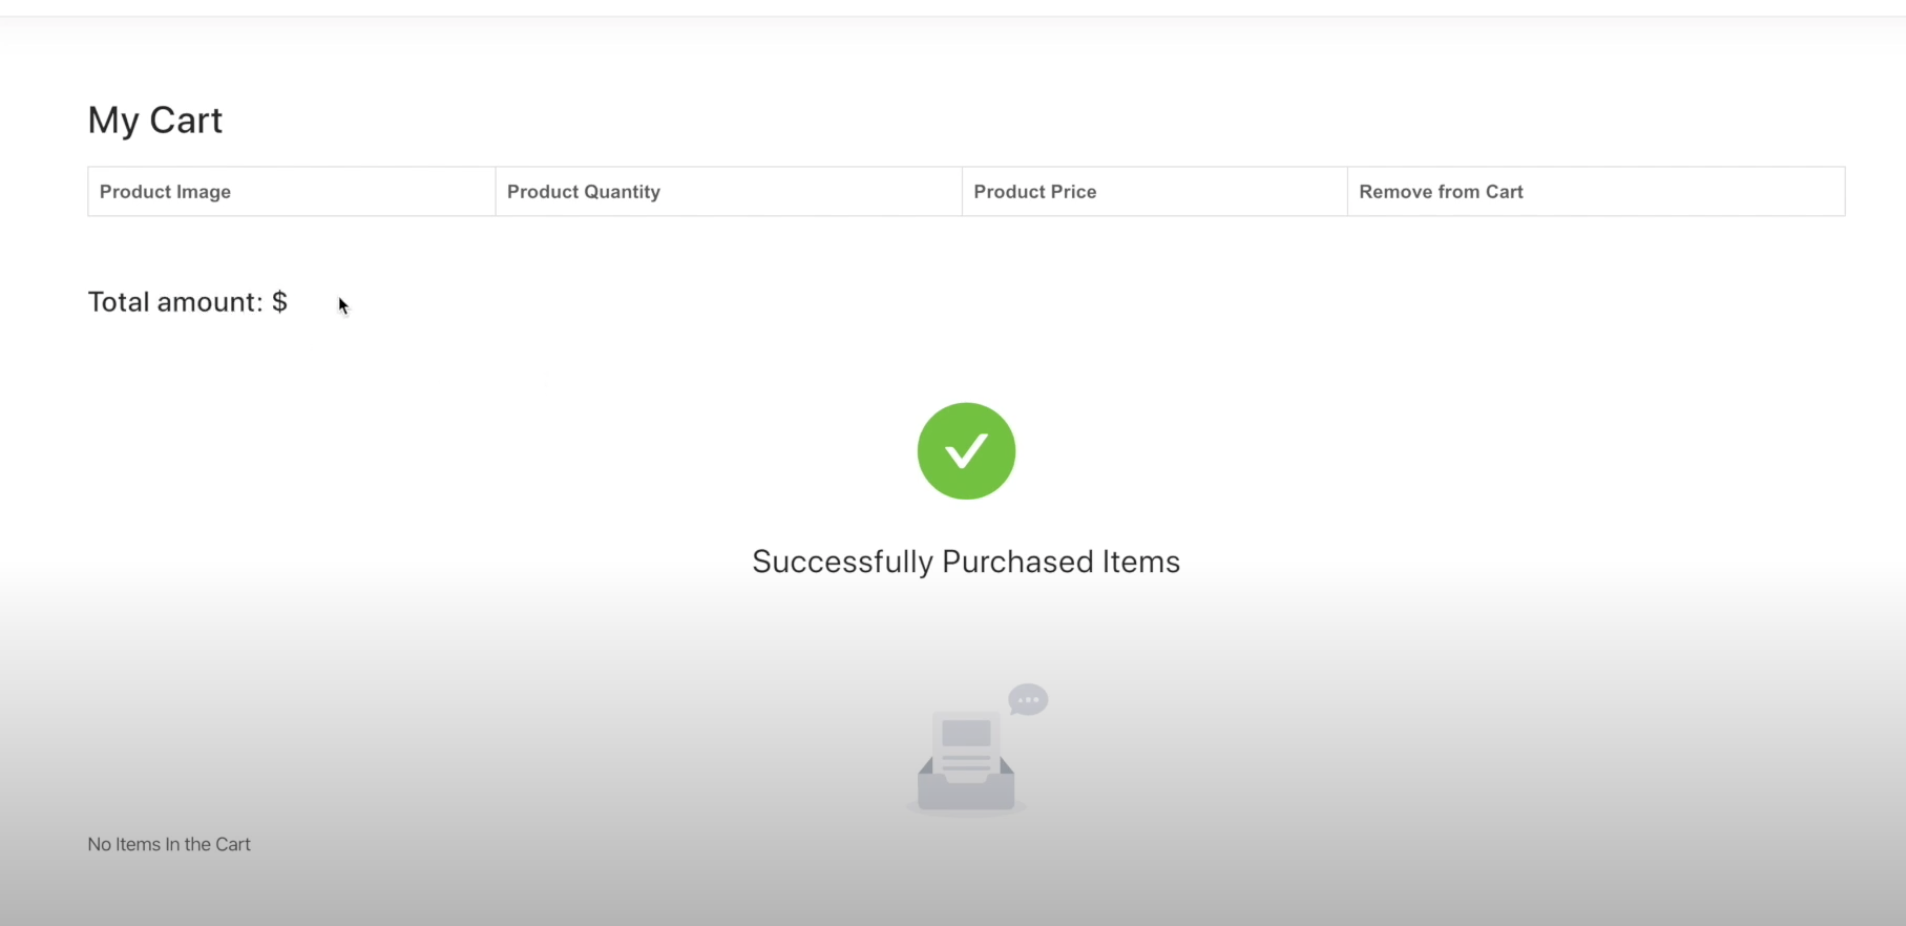
현재 상태 로그인이 된 상태라면 리덕스에 사용자 정보가 저장되어 있으니, 이용해서 화면에 나타나도록 해보자.
우선 UserCardBlock에 props 정보를 넘겨줘서 이 정보를 이용해서 화면구성을 해보도록 하자.
                <UserCardBlock
                    products={props.user.cartDetail}
                />
import React from 'react' function UserCardBlock(props) { const renderItems = () => (//아이템들을 화면에 나타나도록 하자. props.products && props.products.map(product => (//상품이 카트에 있다면 <tr key={product._id}> <td> <img style={{ width: '70px' }} alt="product" src={renderCartImage(product.images)} /> </td> <td>{product.quantity} EA</td> <td>$ {product.price} </td> <td><button onClick >Remove </button> </td> </tr> )) ) return ( <div> <table> <thead> <tr> <th>Product Image</th> <th>Product Quantity</th> <th>Product Price</th> <th>Remove from Cart</th> </tr> </thead> <tbody> {renderItems()} </tbody> </table> </div> ) } export default UserCardBlock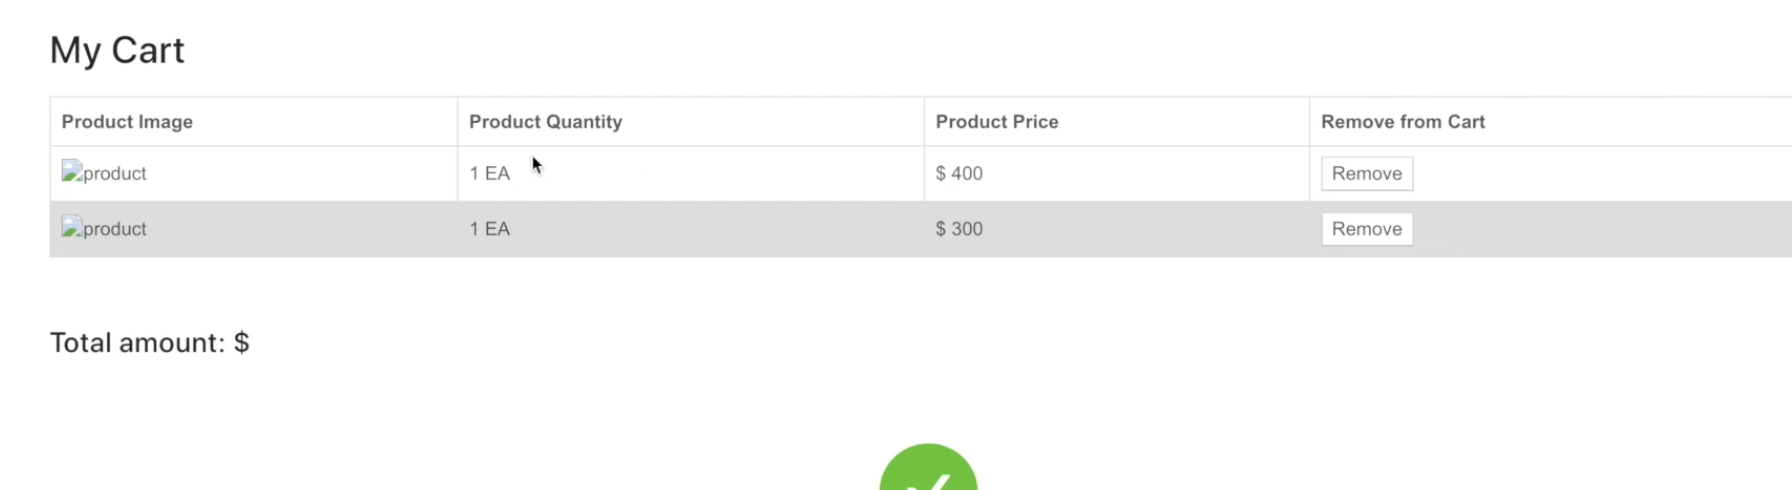
현재상태 (목록은 가져왔다) 이미지도 가져오자.
여기서 저장된 이미지가 1개가 아니기 때문에 http://localhost/5000/${product.image}의 형식으로 가져올 수 없다(여러개이기 때문에 뭘 가져올지 모른다)
따로 함수로 빼내서 구현해주자.
    const renderCartImage = (images) => {//첫번째 사진을 보여주도록 한다.
        if(images.length > 0) {
            let image = images[0]
            return `http://localhost:5000/${image}`
        }
    }

    const renderItems = () => (//아이템들을 화면에 나타나도록 하자.
        props.products && props.products.map(product => (//상품이 카트에 있다면
            <tr key={product._id}>
                <td>
                    <img style={{ width: '70px' }} alt="product"
                    src={renderCartImage(product.images)} />
                </td>
                <td>{product.quantity} EA</td>
                <td>$ {product.price} </td>
                <td><button
                onClick
                >Remove </button> </td>
            </tr>
        ))
    )
이미지까지 가지고 왔다. total amount를 계산해서 보여주도록 하자.
import React, { useEffect , useState} from 'react' const [Total, setTotal] = useState(0) //total amount useEffect(() => { if(props.user.cartDetail&&props.user.cartDetail.length>0){ calculateTotal(props.user.cartDetail) } }, [props.user.cartDetail])//페이지 들어가거나 변경될 때마다 자동 업데이트 const calculateTotal = (cartDetail) =>{ let total = 0; cartDetail.map(item=>{ total += parseInt(item.price, 10)*item.quantity }) setTotal(total) } <div style={{ marginTop: '3rem' }}> <h2>Total amount: ${Total} </h2> </div>'NODE.JS' 카테고리의 다른 글
OnlineShop 만들기 - 13) Cart Page 만들기 4 ( paypal 기능 만들기) (0) 2021.05.16 OnlineShop 만들기 - 12) Cart Page 만들기 3 (cart remove Function 만들기) (0) 2021.05.16 OnlineShop 만들기 - 10) Cart Page 만들기 1 (cart정보 가져오기) (0) 2021.05.16 OnlineShop 만들기 - 9) Product Detail Page 만들기2 (Add to cart 기능 만들기) (0) 2021.05.16 OnlineShop 만들기 - 8) Product Detail Page 만들기1 (상품 이미지, 상품 설명란 만들기) (0) 2021.05.15